Three Methods of Making Brine For Meats, Poultry and Seafood
The time spent making brine is time well used. And there's no doubt about it - brining makes it better! Meat comes out of the smoker or grill dripping with juice and packed with flavor. If your cooked meat is tough, dry and flavorless...
Don't Whine if You Didn't Brine!
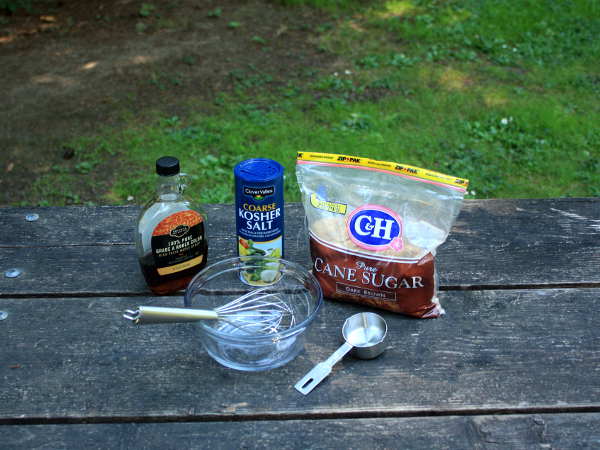 Ramping Up to Make Salmon Brine!
Three Different Ways of Making Brine
Putting together a brine can be as simple as measuring some salt into water and giving it a stir. It'll improve the quality of your food, but not as much as if you spent a little more time making the brine.
Outlined below are a three different methods of making brine, from super-simple to a more hands-on approach.
Any of these methods can be used to make brines for chicken, salmon, turkey, pork chops, or whatever else you may be cookin' up.
Method #1 - Simply Combine and Stir Ingredients
This method of making brine is the easiest, but doesn't make the best quality brine. It's more suited to making simple recipes that include few, if any, added flavor ingredients.
The Combine and Stir Method of Making Brine
- Pour a measured amount of chilled water into the brining container.
- Measure the salt (and sugar, if included in the recipe) and add it to the water.
- Stir until completely dissolved.
- Add the seasoning ingredients and stir to combine.
Pros:
- It takes only a short time to make this brine.
- Minimal equipment is needed.
- Meat can be added to the cold brine immediately after it's mixed.
Cons:
- Salt and sugar dissolve slowly in cold water.
- Much of the flavor remains locked up in the herbs, spices and aromatics.
Method #2 - Simmer the Seasonings to Boost Brine Flavor
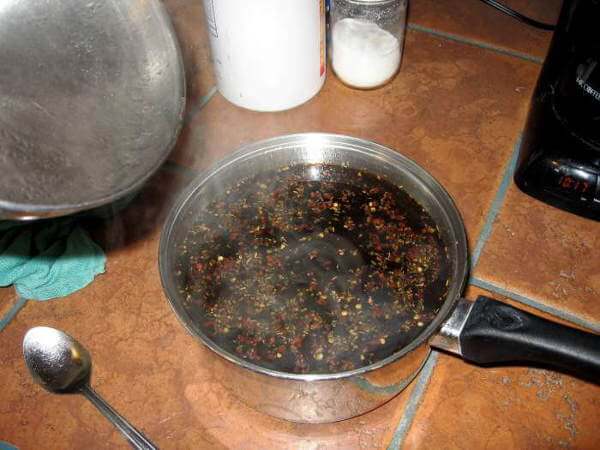 Steeping Herbs and Spices For a Chicken Brine Recipe
This brine making method requires a bit more effort, and entails adding the spices, herbs and aromatics (chopped garlic, onions, etc.) to a small amount of heated water.
When making the brine this way it imparts more flavor and aroma to your foods.
Steeping The Seasonings To Extract More Flavor
- Measure one quart of water* into a saucepan.
- Bring water to a simmer over medium heat.
- Add the spices and herbs to the water.
- Cover the pan and remove from heat and allow to steep for 10 minutes.
- Stir salt and sugar into the remaining chilled water until it's dissolved (this makes a basic brine).
- After the aromatic tea has steeped, combine it with the basic brine mixture.
- Chill brine to 40°F or less.
*Use one quart of the total amount of water called for in the brine recipe.
Pros:
- More flavor extracted from seasonings means more flavorful meat.
Cons:
- Adds time to the brine making process.
Method #3 - Dissolve Salt and Sugar In Simmering Water, The Add Seasonings
With this method of making brine, the salt and sugar are completely dissolved, making the brine more effective. When combined with the steeped spice and herb tea, brine made this way is the best for your poultry, meat or seafood.
Boiling First to Improve Dissolution of Salt and Sugar
- Measure out 4 parts of water for each part of salt to be dissolved. (Example: 4 cups water to 1 cup salt).
- Combine salt and water in large sauce pan.
- Add sugar if it's included in the recipe.
- Bring to a simmer over medium heat, stirring until salt and sugar are completely dissolved.
- Remove from heat, add flavor components and cover pan.
- Allow the brine to cool for 30 minutes.
- Add the boiled mixture to the remaining amount of chilled water specified in the brine recipe.
- Chill the brine to 40°F or less.
Pros:
- The brine works better because salt and sugar are completely dissolved.
- The flavors of the spices, herbs and aromatics are more completely released into the brine solution.
Cons:
- More time is required to make the brine.
- Extra time required to pre-chill the brine before adding the meat.
Keeping Two Gallons of Brine Cold Takes a Lot of Space!
Hopefully you have enough space in your refrigerator for your brining container. If not, here are a few ideas.
Use a Five Gallon Bucket
No. Not this one!
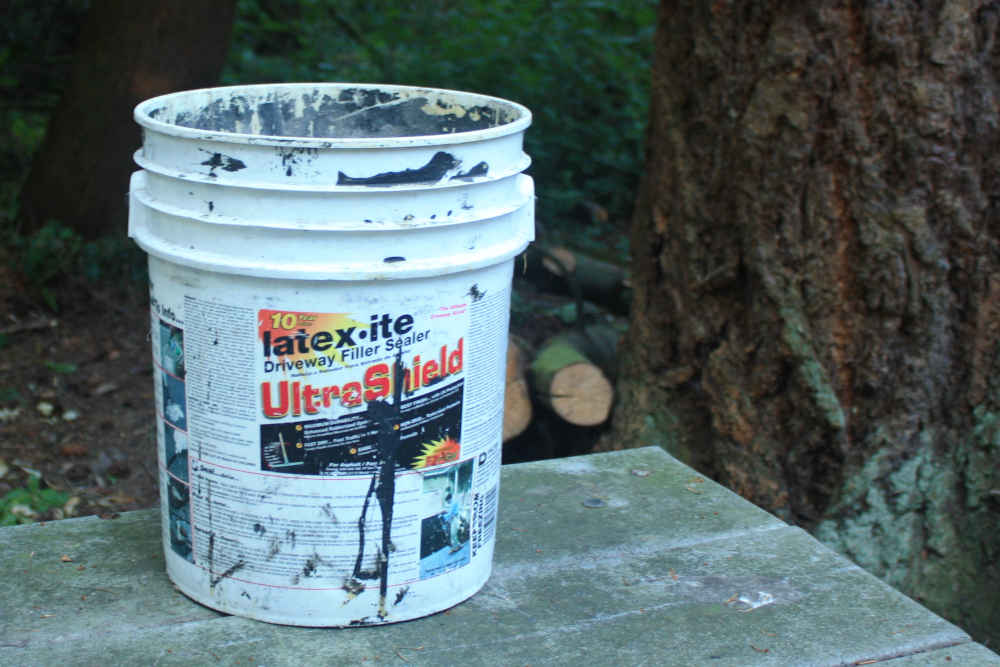 A Poor Choice For Brining!
Put the brine in a clean, food grade 5 gallon bucket. Float a frozen
water-filled gallon milk jug in the brine. Bucket liners are available that are made specifically for brining purposes.
If the ambient temperature isn't too hot the brine will cool down to 40°F or below and stay there, as long as there's plenty of ice. Wrapping a blanket around the outside of the bucket will add some insulation.
Drink All The Beer and Use Your Cooler
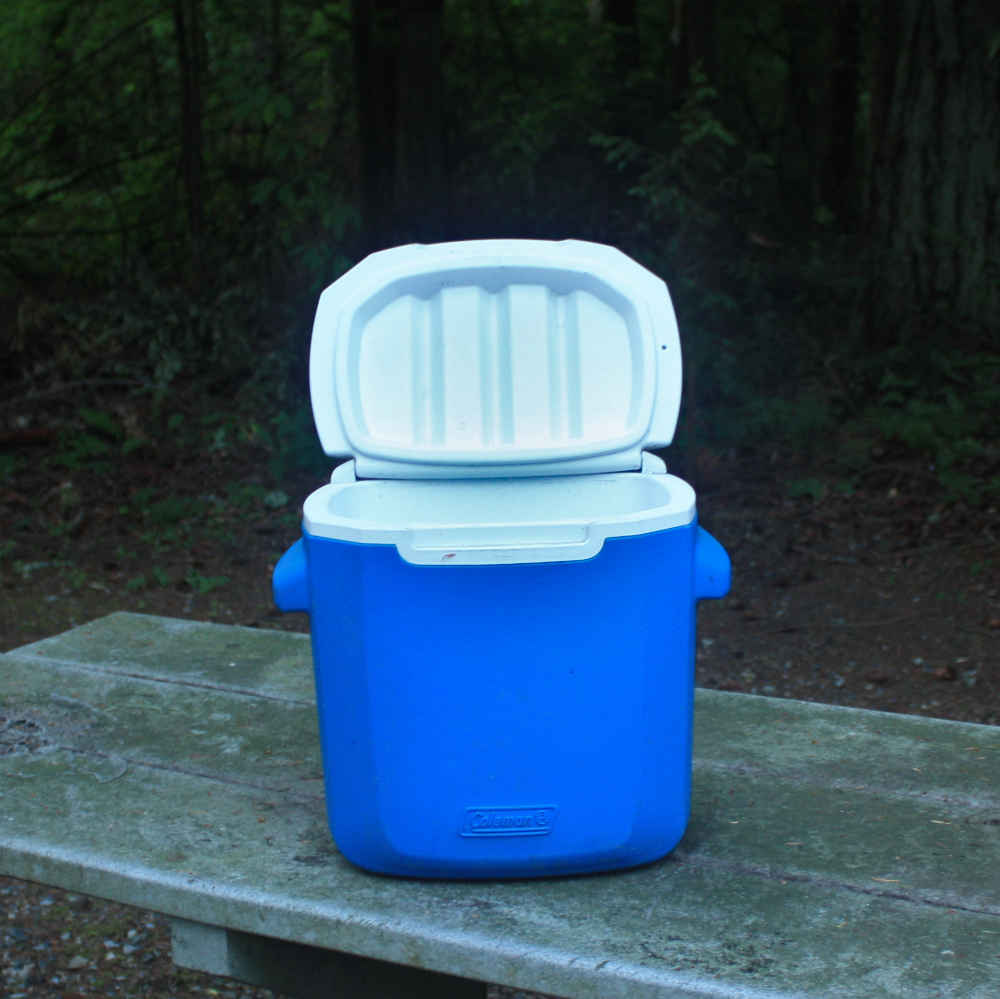 This Medium Size Tall and Narrow Cooler Is Perfect For Brining Foods
Use your beer cooler as a brining container, again with a jug of ice in it. This works well for small pieces of meat, like chicken parts and pork chops.
But because of the cooler's shape, more brine is needed to
completely cover turkeys or other large meats. It might take a double batch of brine for a single turkey.
Procure an Insulated Water Cooler
My favorite brining container is an insulated water cooler. Shaped like a bucket and with a tightly sealing lid, it'll really keep things cold. With some ice floating on top, it'll stay in the safe-temperature zone for a couple of days.
A Few Things To Keep In Mind When Making Brine
Straining Out The Herbs and Aromatics
Ground spices, herb leaves and stems, and little chunks of onion and garlic left in the brine have a tendency to stick tightly to the meat. That might be considered a good thing, since those little bits still have some flavor.
But if your idea of a good looking smoked turkey doesn't include a speck-ravaged skin, then you'll need to pull out your strainer.
When I clean up my brine, I use a pair of strainers, using a coarse-mesh strainer positioned inside one made with a fine-mesh screen.
That might be overkill, and using only the fine mesh would probably do the job. I was just concerned that if I used only the fine mesh strainer, it would get plugged up.
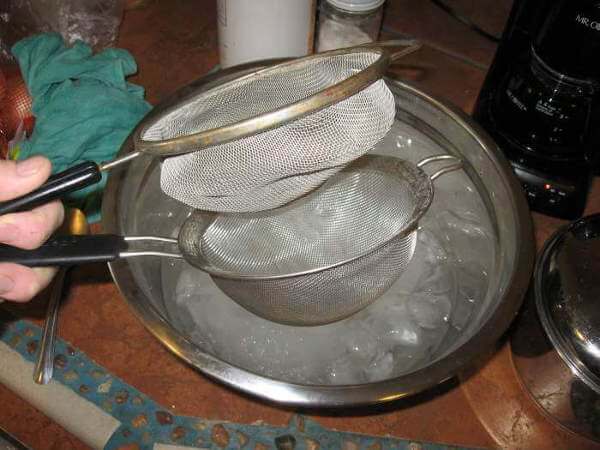 Two Strainers, Coarse and Fine
The coarse strainer catches the larger pieces, and the fine one removes the finer ground spices.
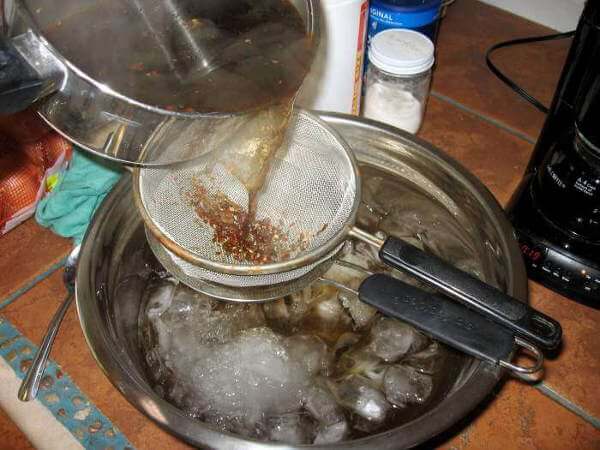 Straining Out The Chunky Parts
I added ice to the stainless bowl to quickly cool the hot liquid. I was in a hurry to put the chicken into the brine!
Water and Other Brine Ingredients
Clean Water Is Important When Making Brine
Water quality is important when making brine. Filtered tap water and bottled drinking water are good choices. If your tap water smells like the YMCA pool, it's probably a good idea to leave it out of your brine.
Chill the water before using it in your brine. I leave a couple gallon jugs in the fridge overnight. By using cold water to make your brine, when all's said and done it will probably be at - or close to - the safe maximum brining temperature of 40°F or less.
Adding Syrups To Your Brine
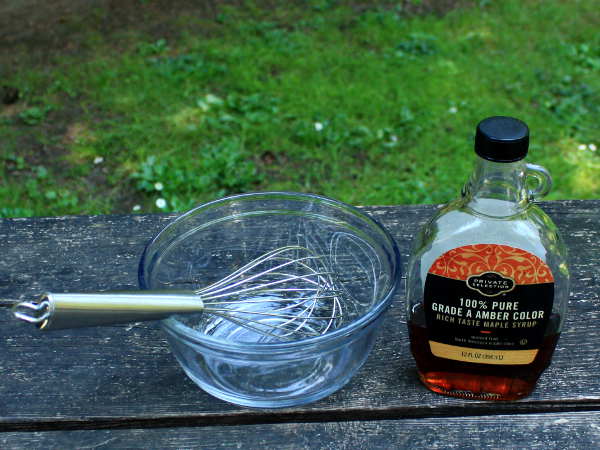 Whisk Syrup Into Cold Water
Some recipes call for one or more types of syrup. Maple syrup is a popular brine ingredient, as are molasses and honey.
Because these sweeteners have aromatics that can be lost when heated, when making brine, add syrups after the mixed brine has cooled, immediately before the meat goes in.
Transfer one quart of the cooled brine to a mixing bowl, using a whisk to stir in the syrup. When the syrup has dissolved, stir this mixture iinto the rest of the brine.
It's now ready for the chicken, pork, turkey... or whatever it may be that you're preparing.
And If The Brine Recipe Includes Fruit Juice...
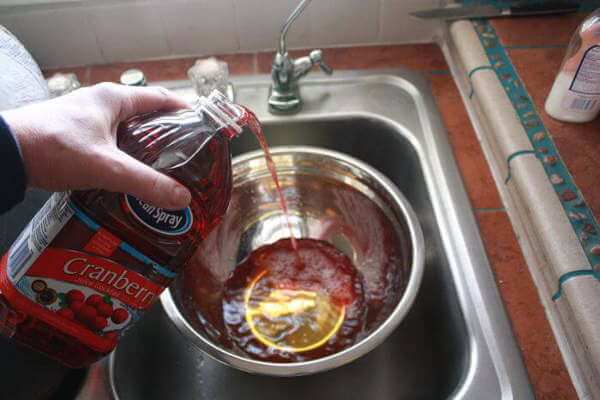 Making Cranberry Brine For a Turkey
Fruit juice flavors can be affected by heat. The taste of the juice might be altered. Volatile flavor components may be lost into the atmosphere.
Combine chilled fruit juice with the brine immediately before it's used, and you'll know that the full fruity flavor of that juice is intact.
Parting Shot: A Cran-Apple Brined Smoked Turkey
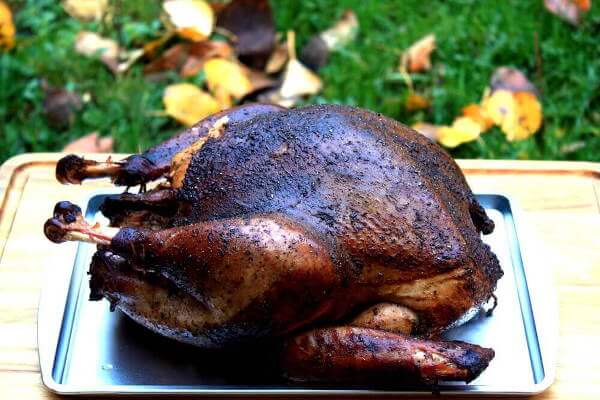 The Picture Says It All...
- You Are Here: Home >
- Tips >
- Making The Ultimate Brine
